


The Greenhouse project
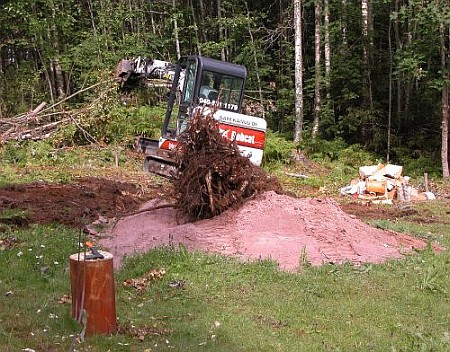
Day 1.
The stumps being pulled out from the ground.

Day 1.
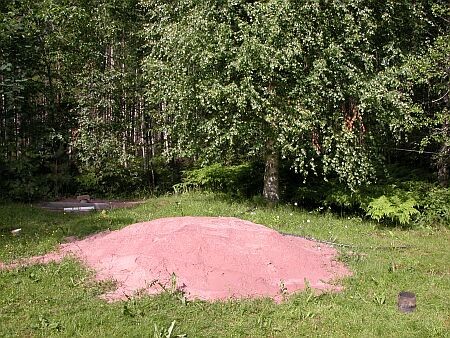
Here is the position and size (50m2) marked for the new greenhouse.
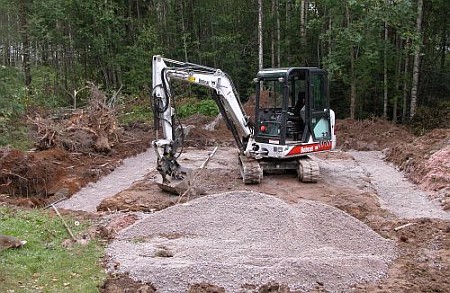
Day 1.
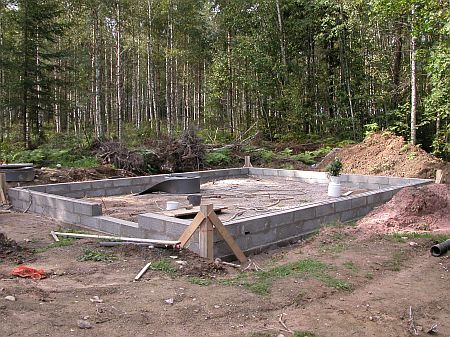
Time to do some digging.
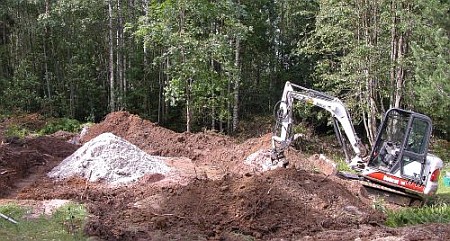
Day 1.
Digging almost complete.
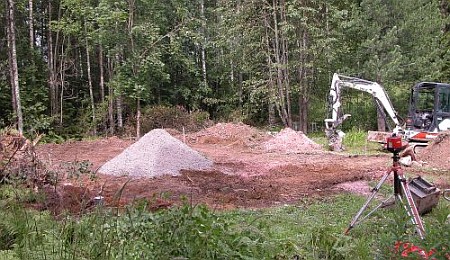
Day 1.
Spreading the gravel on the deep edges.
This will ensure a strong support for the structure.
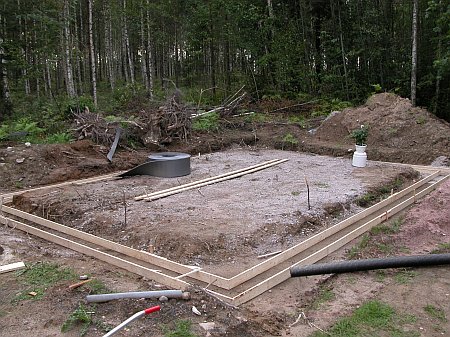
Day 2.
Preparing to cast the concrete.
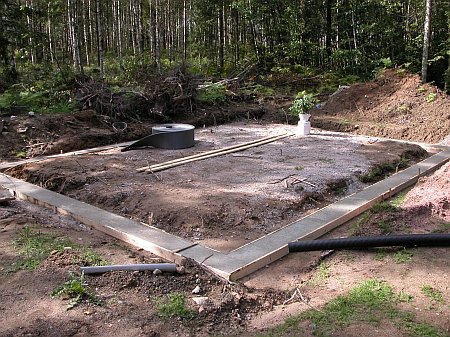
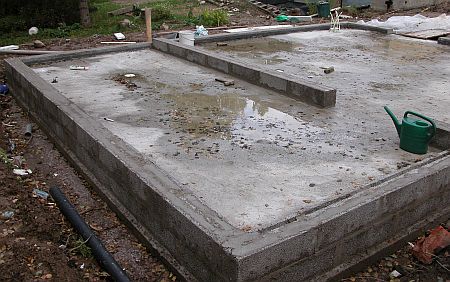
Day 3.
Concrete-edges have been casted!
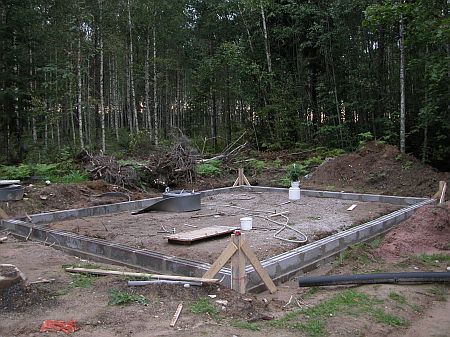
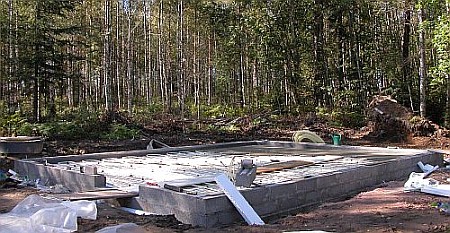
Day 4.
First row of the bars casted.
Day 5.
Second row of the bars casted.

Day 6.
The gravel has been made very firm using a heavy vibrator.
Almost ready to cast the concrete!
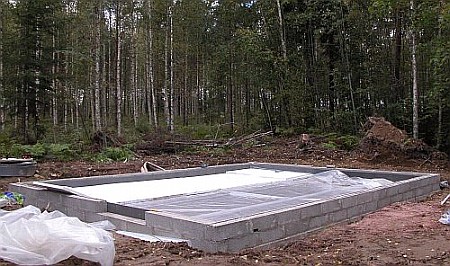
Day 7.
A plastic coating has been placed on top of the firm gravel and some expanded
polystyrene has been added on top of it.
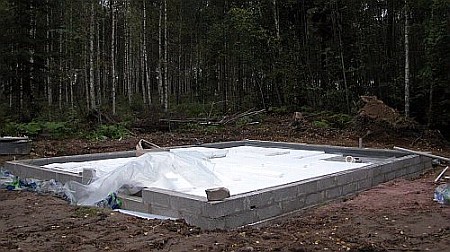
Day 7.
Almost all of the two-layers of the expanded polystyrene has been added.
Next thing to do is to make the draining well to fit with the expanded polystyrene.
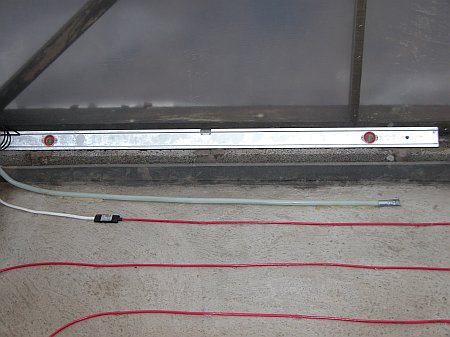
Day 8.
Iron mounting & glycol piping added.
Small part of the concrete casted.
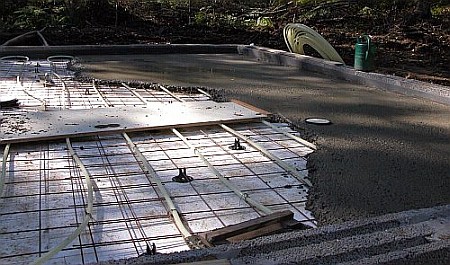
Day 8.
Close-up of the iron mounting & glycol pipes.
I'll warm up the glycol-water in the pipes with 3 big solar cells, which keeps
the floor warm during the nights of the late spring- early autumn.
As addition, I will use furnace during the colder times.
That should save a lot with the electricity & gas bills!
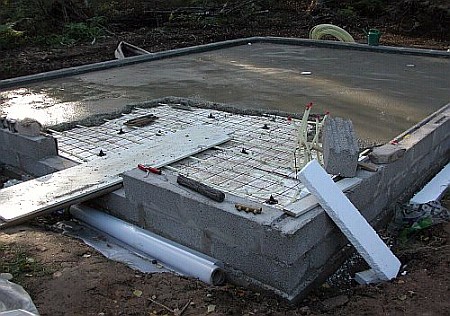
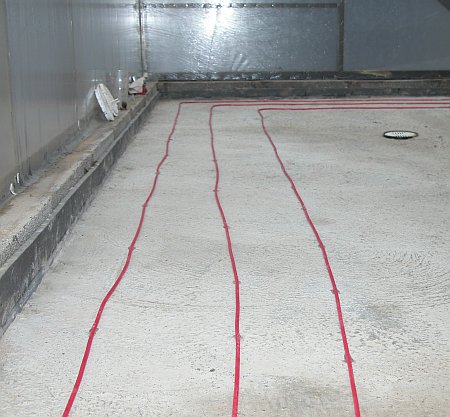
Day 8.
Concrete almost done!
Close-up of the acclivity of the glycol-pipes.
Day 8.
Concrete casted!
Now it's time to cast one more concrete to the warm part (for overwintering) of the greenhouse.
I'll use electrical heating cables as a backup there WITH the glycol pipes.
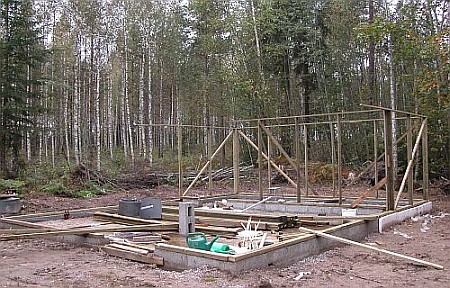
Day 9.
The wall separating the cold side from the over-wintering side has been built.
Next it's time to build up the frames for the two layers of plastic with air passages to keep the room totally insulated during the winter.
Day 9.
The warm side which probably will be used to overwinter some of the plants.
Electrical cables will be casted on the concrete as soon as the framework and plastics are ready.
That ensures that the room will be fully functional when it gets too cold.
The rest of the work can be done even it's snowing outdoors!
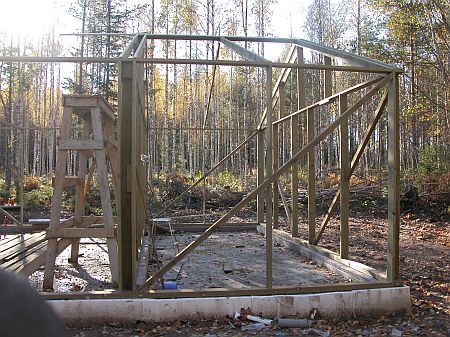
Day 10.
Underdrains completed, starting to build the frame.
Day 11.
Wall-frames of the warm side has been built.
Day 12.
Walls of the frame almost done.
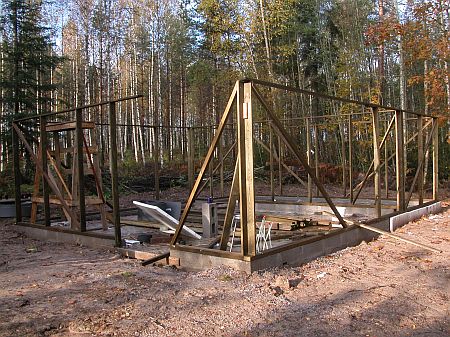
Day 13.
Roof-frames of the warm part completed.

Day 14.
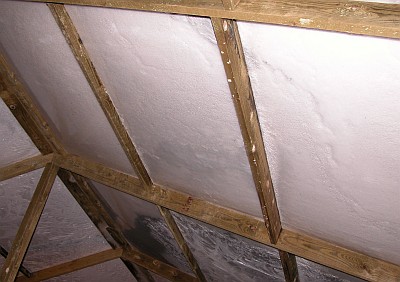
Plastic on the back wall.
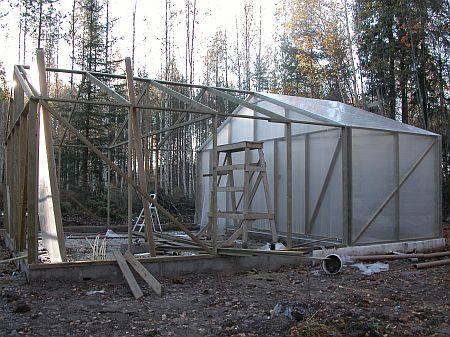
Day 15.
Plastic around the warm side (outside layer).
Day 16.
The last piece of plastic wasn't sufficient for the frame so we left it there just to
cover the concrete for heavy rains.
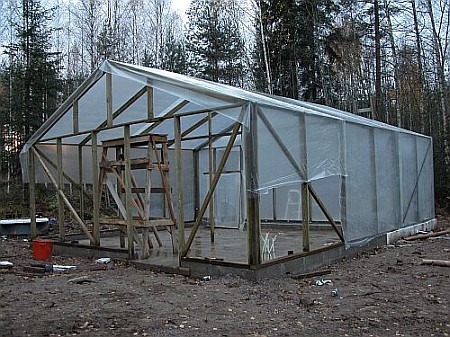
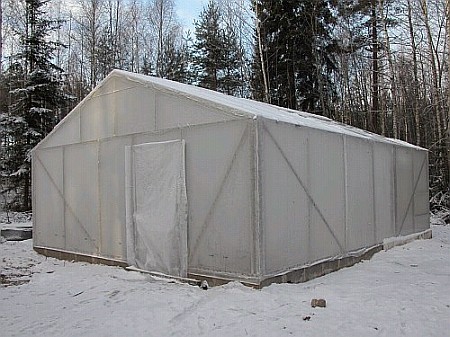
Day 17.
Outer plastic layer ready!
The project isn't weather-dependent anymore.
We can continue the project even it's raining or snowing!
And some extra heating makes the working much nicer!
(it's around zero Celsicus weather here in Finland these days!)
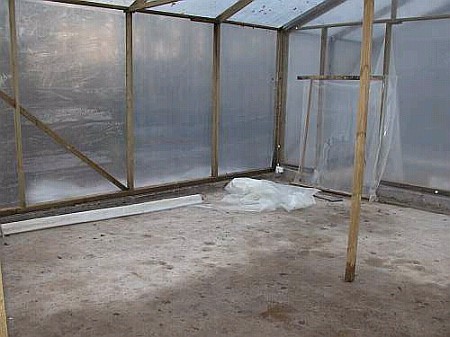
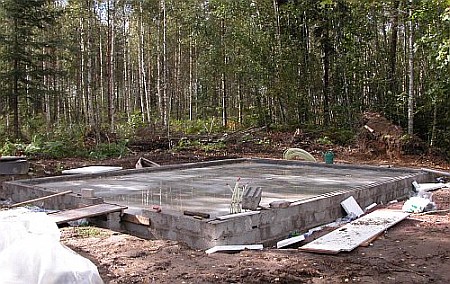
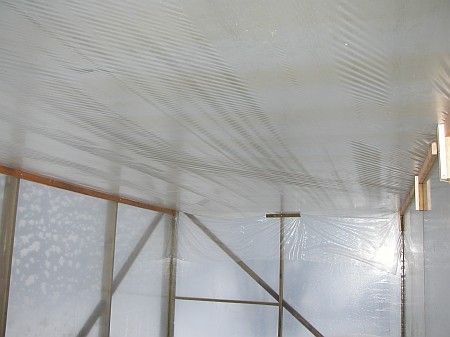
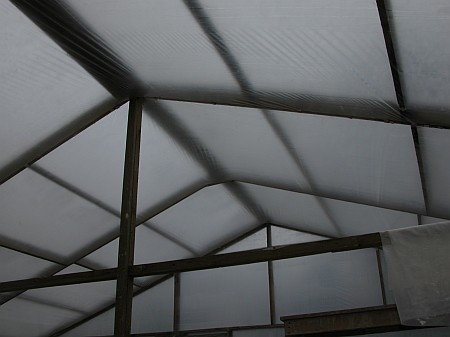
Day 17.
View from inside the greenhouse.
Drying up the concrete,
Soon it's time to add the heating cables and inner layers of plastic.
The heating cables will be installed inside the floor with a thick layer of epoxy-mass.
After that, the surface of the floor will be much easier to clean than just a concrete.
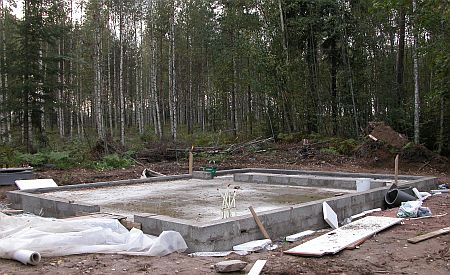
Day 18.
Heating cabels on the concrete.
Next step will be to add some epoxy-mass.
Day 18.
Heating cabels on the concrete.
Together with the hot water(glycol)-pipes I'll be heating the floor almost all year
long, except during the most warm months.
I'm planning to build a furnace for heating up the water pipes when it's getting
too dark for the solar cells to produce enough heat.
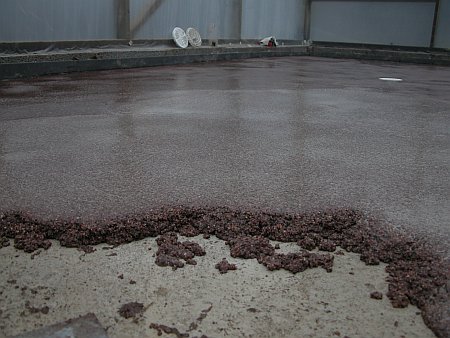
Day 19.
Showing the thick layer of epoxy-mass on top of the concrete.
I'll still add a thin layer of epoxy for more smooth surface to keep it clean more easily.
Day 20.
Another layer of epoxy-mass casted.
This time the layer was thin, just to make the floor smoother.

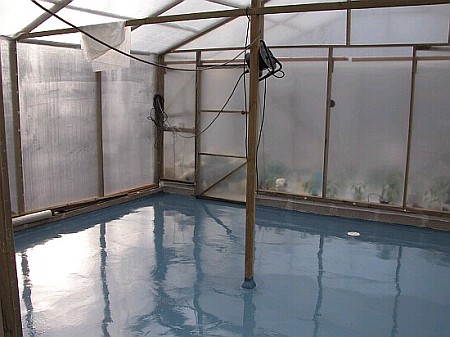
Day 20.
Cold side of the greenhouse.
Materials & equipment used to cast the epoxy.
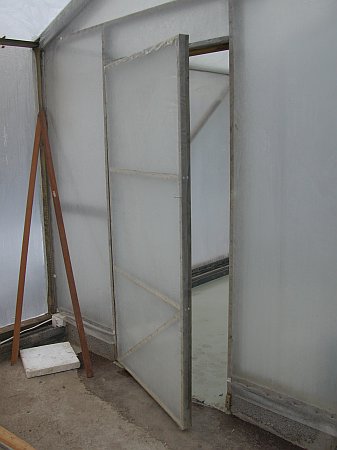
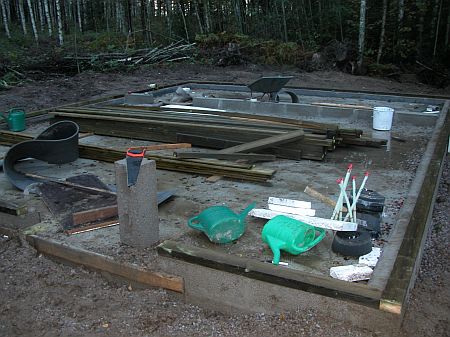
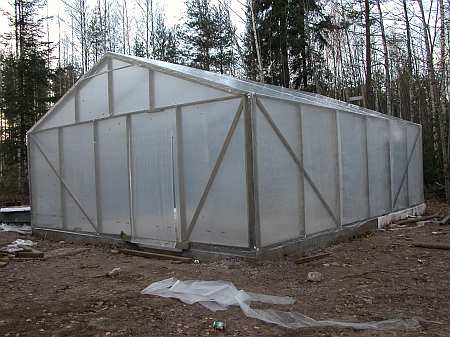
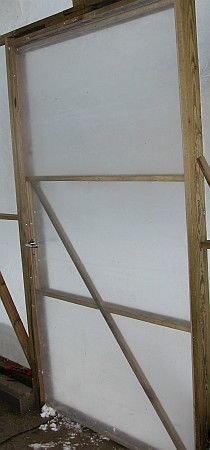
Day 21.
Door that separates the warm & the cold side of the greenhouse is finished.
Time to start warming up the warm side.
Day 21.
This day spent with small things like the frames of the door & hatches etc.
Day 22.
One more layer of ceiling added to make the cubic volume smaller for faster and
more efficient heating.
Day 25.
Structure of the ceiling made stronger for heavy snow loads in the future.
Day 26.
I insulated the warm side door with two pieces of rubber.
Day 27.
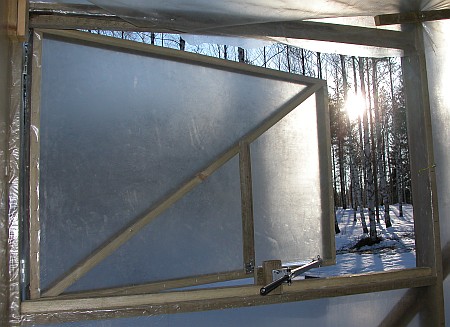
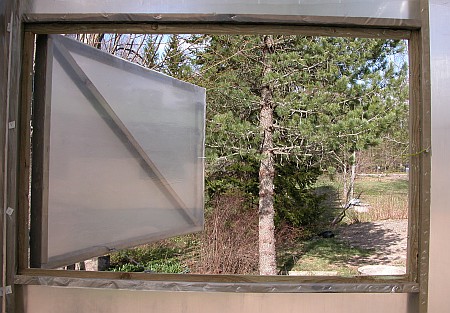
Automatic ventilation window opener installed.
There will be one or two ventilation windows on the gable walls of the warm side
and one on the ceiling.
And same thing with the cold side.
Day 28.
The project continues..
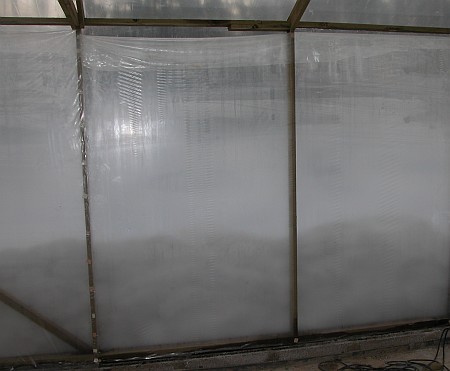
Inner layer of plastic coating almost done in the cold side of the greenhouse.
The warm side is filled with plants and now I need some more space.
I still have to make a second layer of plastic to the ceiling and of course, epoxy on the floor of the cold side too.
Some other important things like ventilation windows has to be ready soon too.
With my earlier greenhouse the ventilation windows were way too small.
This time I'll make few extra ventilation windows.
I'll also make the hatches on the ceiling much bigger this time.
Day 29.
The project still continues.
Inner layer of plastic coating added to ceiling.
Ventilation windows and the epoxy coating on the floor still missing.
Day 30.
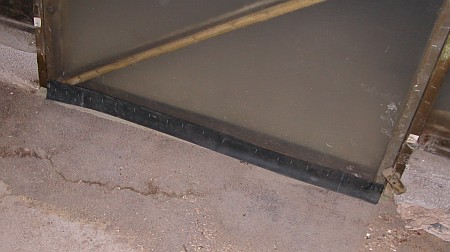
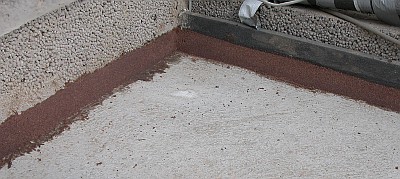
Baseboards casted from epoxy-mass (cold side of the greenhouse).
With baseboards, I have a pool where the water stays even after some heavy spraying.
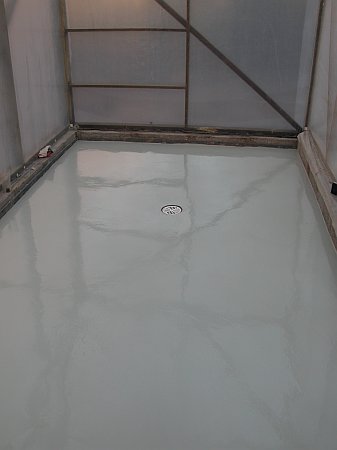
Day 30.
The big main door is ready.
Day 31.
A thin layer of epoxy casted at the cold side of the greenhouse.
Compared to concrete this is really ideal material of the floor.
The moisture won't be absorbed in the concrete and it's also very easy to keep clean!
Most of the water with flow in the well because of the pourings on the floor.
The epoxy is still wet on the picture.
Day 32.
A manual hatch added.
Later on it will be controlled electrically with relays or automatically with hatch opener.
Day 33.
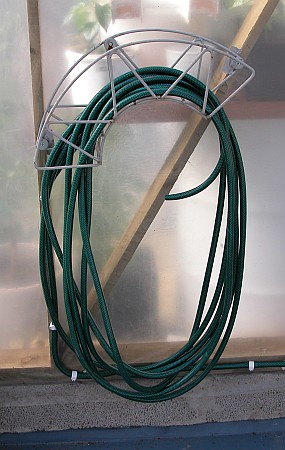
Finally a waterhose in a greenhouse.
I have a surface water well for the greenhouse and kitchen garden.

Day 32.
A trapdoor on the cold side of the greenhouse.
Size 150 x 130cm.
Helps a lot when it's too hot.
Day 33.
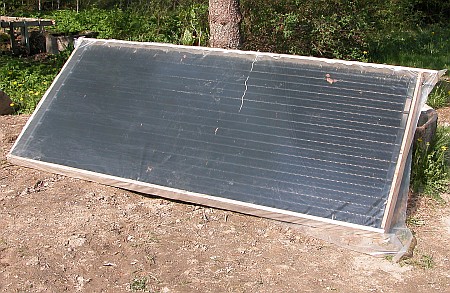
Solar cell testing.
I actually burned my finger after I tried how hot it can get!
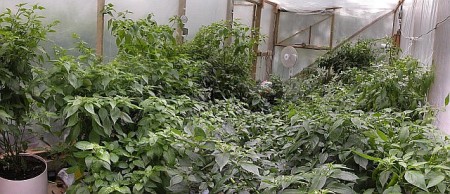
Warm side of the greenhouse.
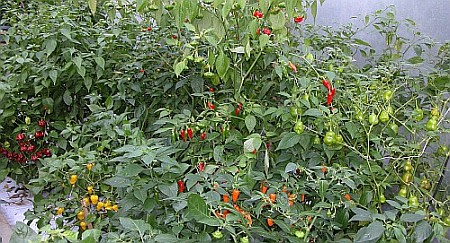
Warm side of the greenhouse, first pods maturing.
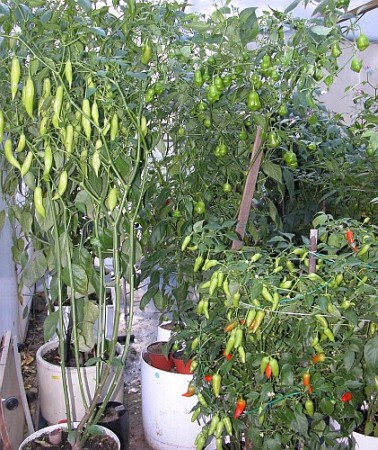
Cold side of the greenhouse.
As you can see, the greenhouse does work quite well!
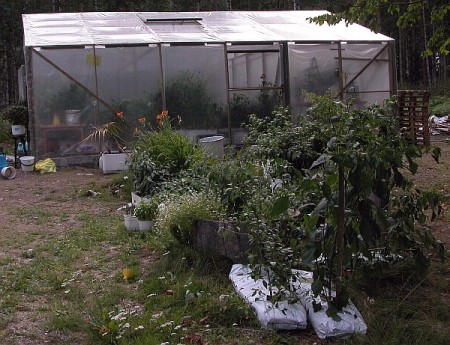
Greenhouse and leftover plants outside.
Phew!
That was a lot of work to do, but it was very interesting and enjoyable project, and it still continues...!